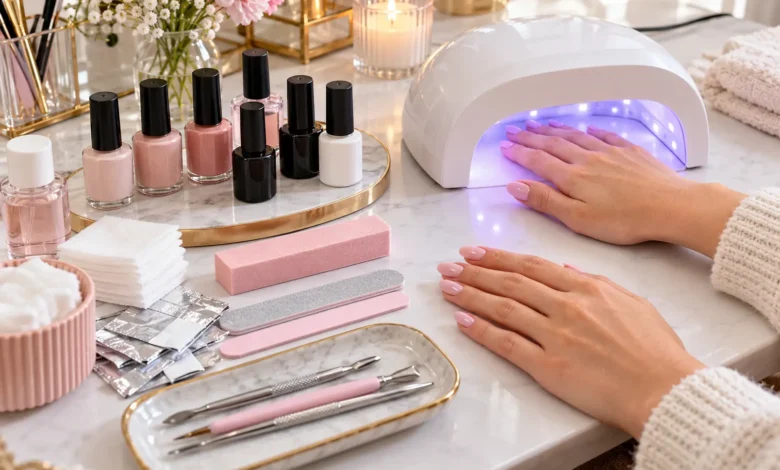
A gel nail kit lets you do a glossy, long-wearing manicure at home, usually with a curing lamp, gel polish, base and top coats, and a few prep tools. The right kit can save you salon trips. The wrong one can leave you with sticky, lifting, or uncomfortable nails.
This guide explains what a gel nail kit includes, how UV and LED lamps differ, and how to choose between gel polish, poly gel, and builder gel. It then walks through seven kit styles that cover the most common needs, followed by step-by-step instructions, troubleshooting, and safety basics.
What Is a Gel Nail Kit?
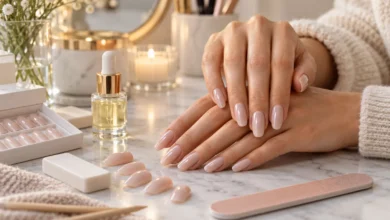
A gel nail kit is a set of products and tools for applying gel manicures at home, typically including a UV or LED lamp, gel polish or gel, base and top coats, and nail prep tools. Gel hardens when it is exposed to a curing lamp, which is why it lasts longer and looks glossier than regular nail polish.
Kits vary a lot. Some include only a few colors and a basic lamp, while others add cuticle care, removal supplies, and nail art tools. Always check what is actually in the box before you compare prices.
What You Will Usually Find Inside
| Item | What it does |
|---|---|
| UV or LED lamp | Cures (hardens) the gel |
| Gel base coat | Helps color grip the nail |
| Gel color(s) | The shade you wear |
| Gel top coat | Seals the color and adds shine |
| Nail file and buffer | Shapes the nail and roughens the surface for grip |
| Cuticle pusher or stick | Cleans the nail plate |
| Lint-free wipes and cleanser | Remove dust and the sticky layer after curing |
| Remover wraps or foils | Used for soaking off gel |
Not every kit has every item. If removal supplies are missing, you will need to buy acetone, cotton, and foil or reusable wraps separately.
Gel Polish vs. Poly Gel vs. Builder Gel
These terms get mixed up, so here is a quick breakdown. All three need curing.
| Type | What it is | Best for |
|---|---|---|
| Gel polish | Color that you paint on in thin coats | Color on natural nails |
| Poly gel | A thicker, putty-like hybrid of gel and acrylic-style material that you shape on the nail | Extensions, added length, and sculpted shapes |
| Builder gel | A thicker, clear or tinted gel used to add strength | Strengthening natural nails and building structure |
Poly gel is usually sold in tubes and used with a slip solution so you can shape it without sticking. Poly gel kits often include forms or tips, which are guides for extending the nail. It has a learning curve, but many people enjoy the sculpted result.
UV vs. LED Lamps
Both lamp types cure gel, and many modern lamps combine UV and LED lights.
- LED lamps generally cure faster and are common in current kits.
- UV lamps may cure a wider range of older or different gel formulas, and typically take longer.
- Dual lamps can handle both.
The most important rule is to use gel that is compatible with your lamp, and to follow the cure times printed on your gel. Cure times vary by product, but 30 to 60 seconds per layer is common. Wattage also varies by lamp, and higher wattage is not automatically better for every gel.
Both UV and LED nail lamps emit ultraviolet light. We cover protecting your skin in the safety section below.
How to Choose the Best Gel Nail Kit
The best gel nail kit is the one that matches your goals and skill level. A few questions narrow it down.
- What do you want to do? Color only, extensions, or strengthening your natural nails?
- Does the lamp match the gel? Check that the gel is made to cure under the lamp included.
- How many colors do you need? A small set is enough to learn, while a bigger set offers variety.
- What comes in the box? Count the essentials: lamp, base, top, color, file, wipes, and removal supplies.
- What is your budget? Prices change, so compare the cost per use as well as the sticker price.
- Do you want a compact kit? Travel-friendly lamps and mini kits are easier to store.
- Is the brand transparent? Look for clear instructions, ingredient lists, and responsive customer support.
Independent reviews and verified customer photos tell you more than product descriptions. Be cautious about pages that rank kits without explaining how they were tested.
7 Essential Gel Nail Kit Picks
These seven picks are seven kit styles, each matched to a common goal. We have not tested the example brands mentioned, and kit contents and prices change, so check each brand’s current product page before buying.
1. The Beginner Gel Polish Starter Kit With UV Light
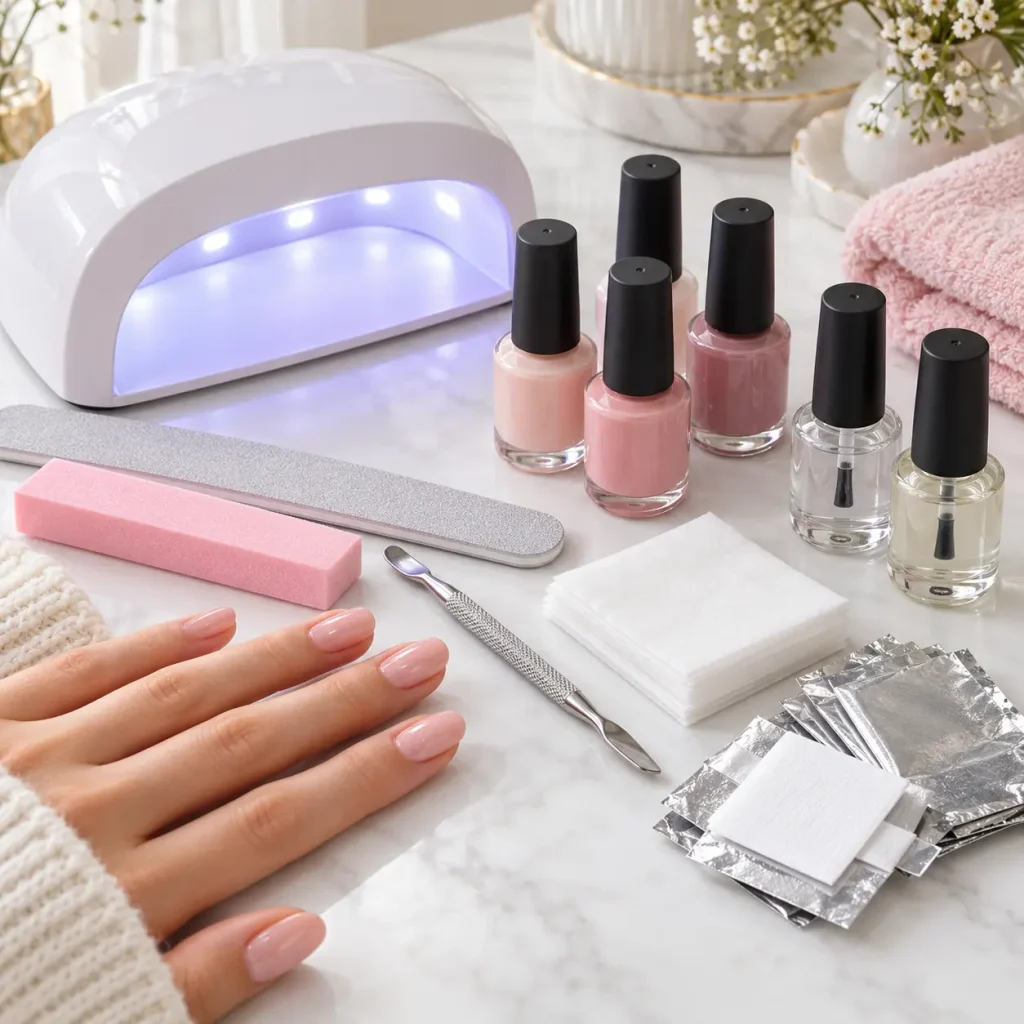
What it is: a gel nail kit with UV light or LED, plus base coat, top coat, and a few colors.
Best for: first-timers who want one box with everything for basic gel manicures.
What to check: that the lamp is included, that the instructions are clear, and that the kit lists cure times for each layer.
Example brands to browse: Gel starter kits from Bluesky and Mylee (both reviewed by beauty editors) include a lamp, base and top coats, and colors. Check US availability before ordering.
A starter kit is the simplest answer to what to buy first. Once you know what you like, you can swap in other colors without buying another lamp.
2. The Poly Gel Nail Kit
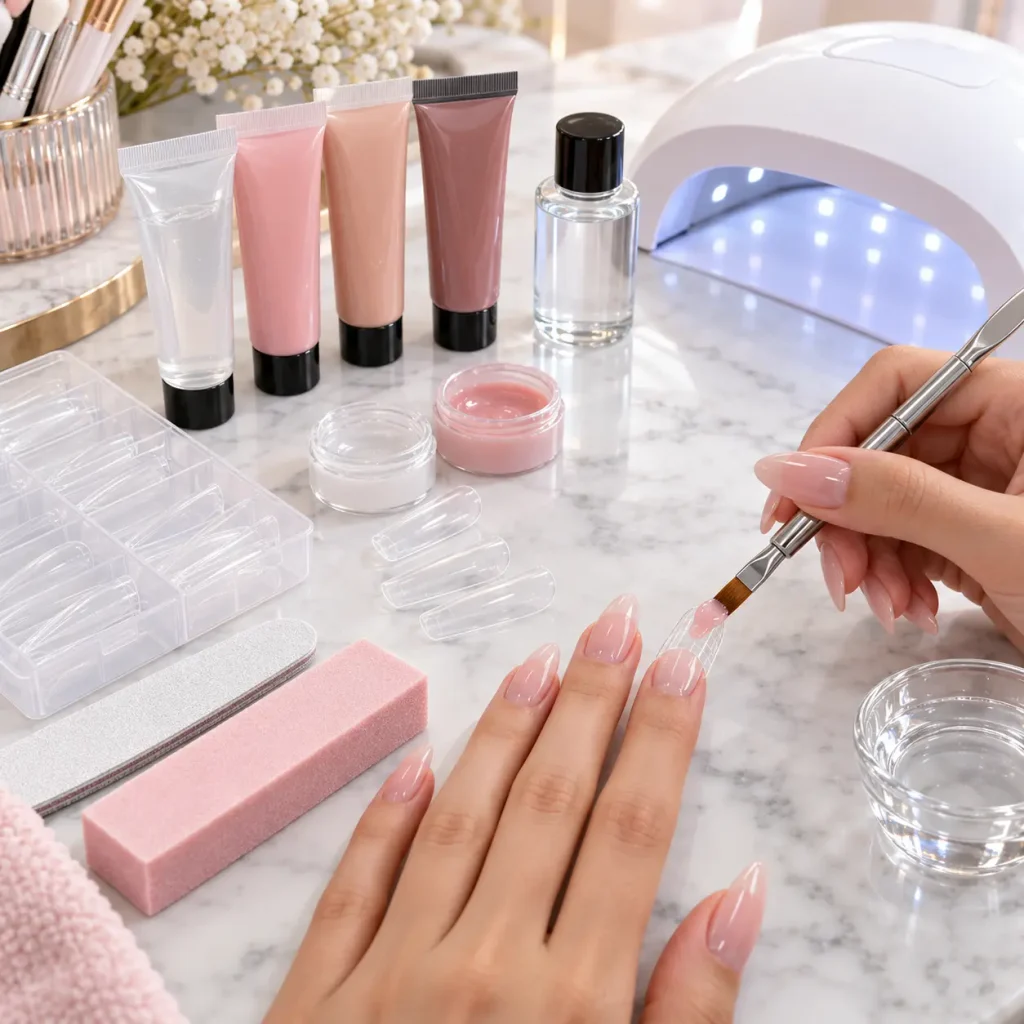
What it is: a poly gel nail kit with tubes of poly gel, a slip solution, a brush, forms or tips, and usually a lamp.
Best for: adding length, creating a sculpted shape, or building a structured nail.
What to check: whether a lamp is included, what forms or tips come with it, and whether the gel colors suit your style. Beginners may want a kit that includes a clear base color and a few neutral shades.
Example brands to browse: several nail supply brands sell poly gel kits, including Beetles, Modelones, and Makartt. Compare current contents and reviews.
Poly gel takes practice. Work in small amounts, keep the brush wet with slip solution, and cure in short rounds as you shape.
3. The Complete Color Collection Kit
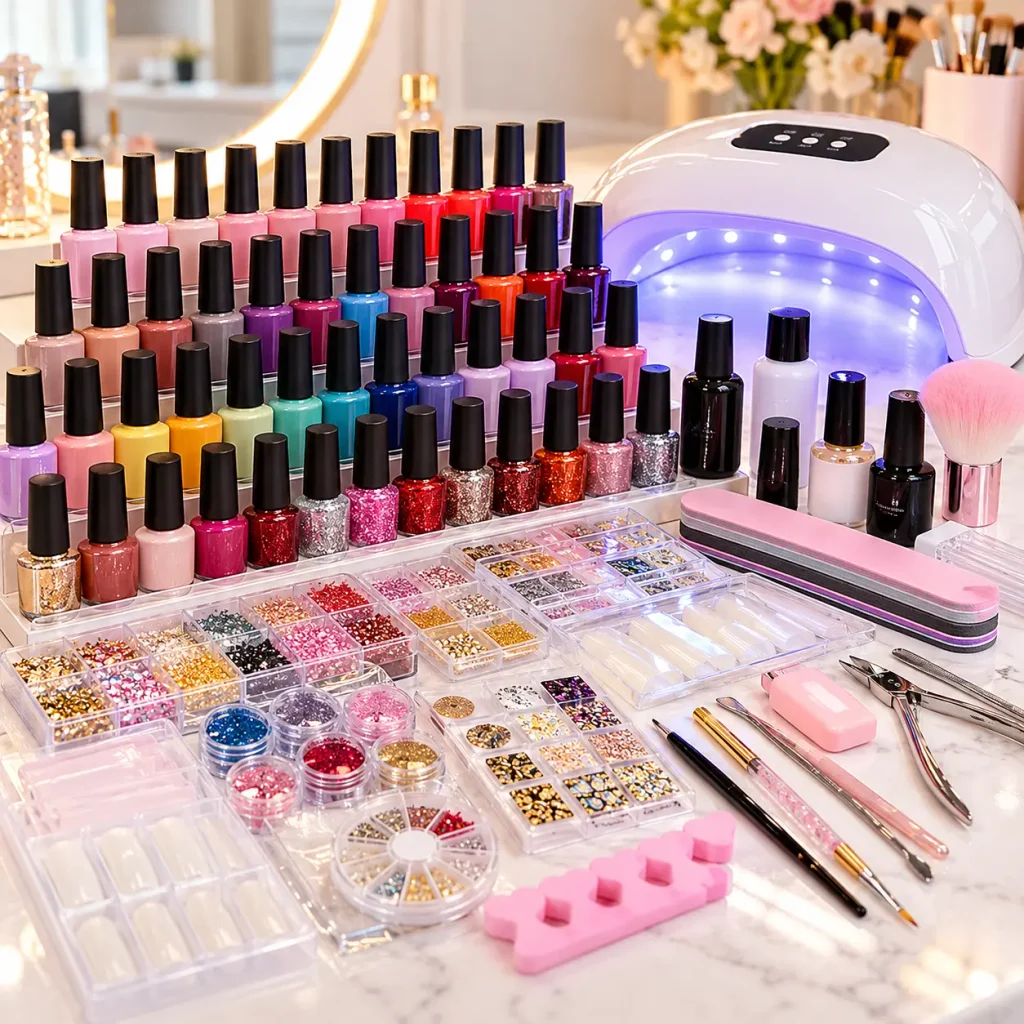
What it is: a larger kit with many gel colors, a lamp, base and top coats, and extra tools.
Best for: people who love changing colors or doing seasonal nail art.
What to check: whether the colors are opaque in two coats, whether shades match what you like to wear, and whether bottles are a manageable size for the number of manicures you plan to do.
Example to browse: Mylee’s Full Works kit is described by Who What Wear as including a lamp, prep and removal lotions, cuticle tools, a base and top coat, and eight gel polishes. Check current contents.
A bigger color range can be fun, but it matters less than good base and top coats. A great formula in four colors beats a poor formula in forty.
4. The Compact or Travel Gel Kit
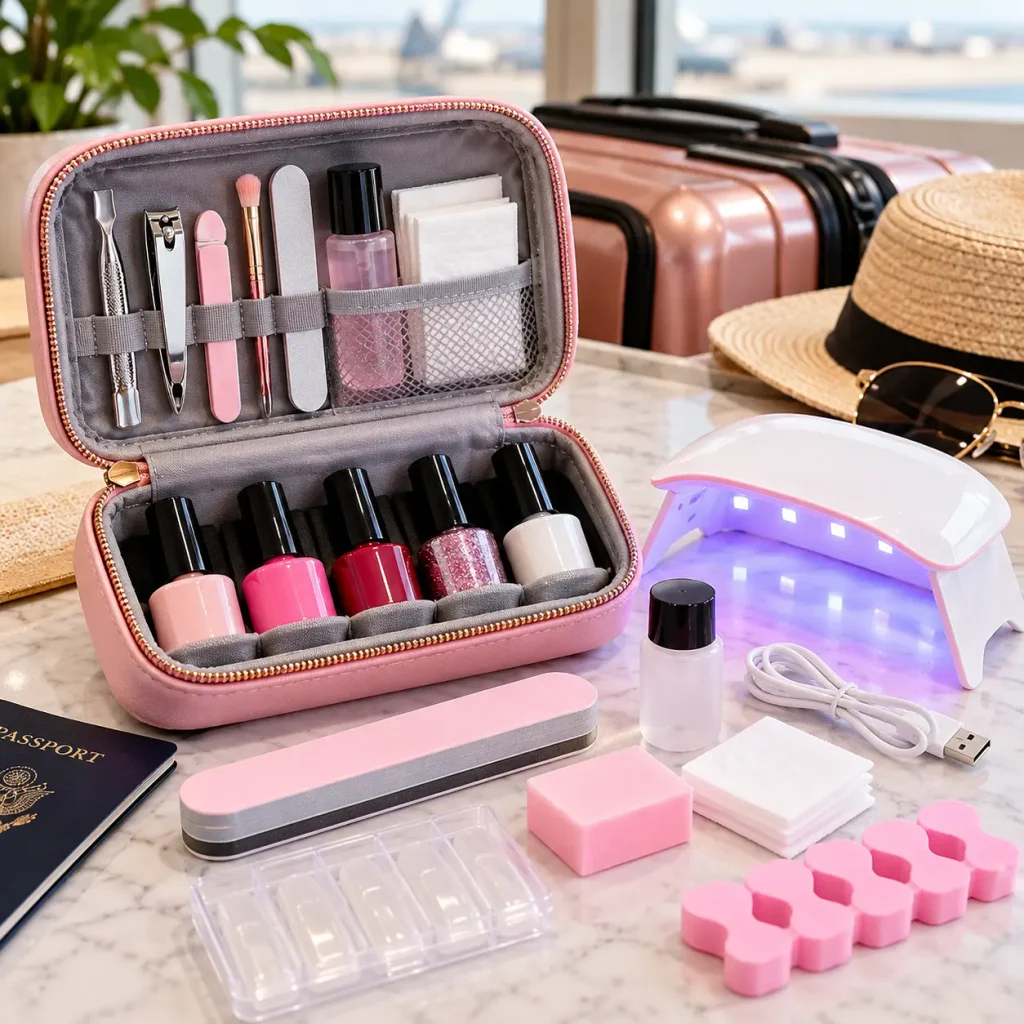
What it is: a small kit with a mini lamp and a few essentials.
Best for: small spaces, travel, and anyone who wants a simple at-home gel nail kit that is easy to store.
What to check: whether the lamp is large enough to cure all fingers properly, and whether it opens or tilts so you can do your toes.
Example to browse: Le Mini Macaron is a compact kit with an LED lamp that flips open for pedicures, along with a file, cuticle stick, polish, and remover wraps, as described by beauty editors.
Compact lamps can be convenient, but make sure your thumb and each finger fit under the light so the cure is even.
5. The Builder Gel Kit for Strong Natural Nails
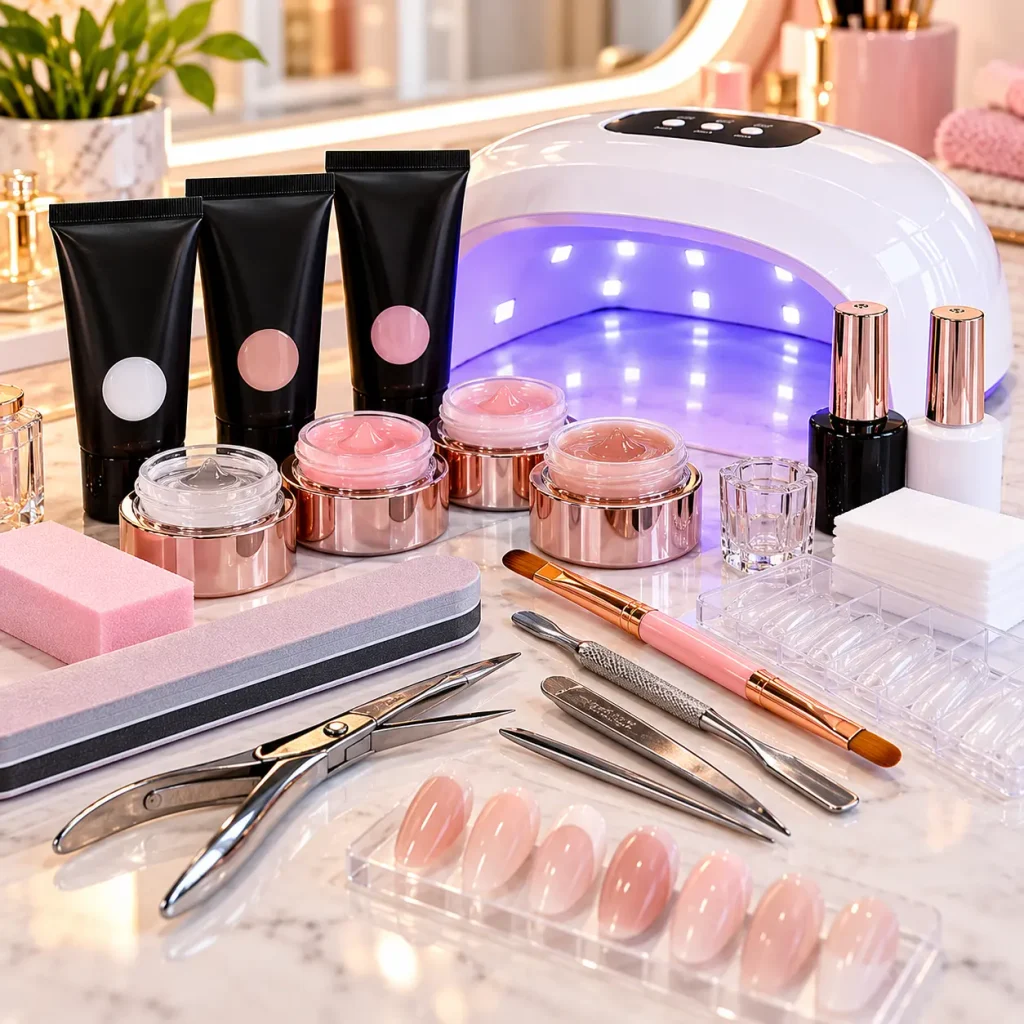
What it is: a kit built around a thicker gel that adds structure to natural nails.
Best for: nails that bend or break easily, and anyone who wants a stronger base before color.
What to check: the gel’s instructions, since builder gel is applied in thicker layers than polish. Look for clear guidance on layer thickness and cure times.
Brands to explore: many professional nail brands sell builder gel in bottles or tubes. Look for clear ingredient lists and instructions.
Builder gel adds protection and shape, but thick layers can cure with a heat sensation. We explain how to avoid that in the troubleshooting section.
6. The Ingredient-Conscious Gel Kit
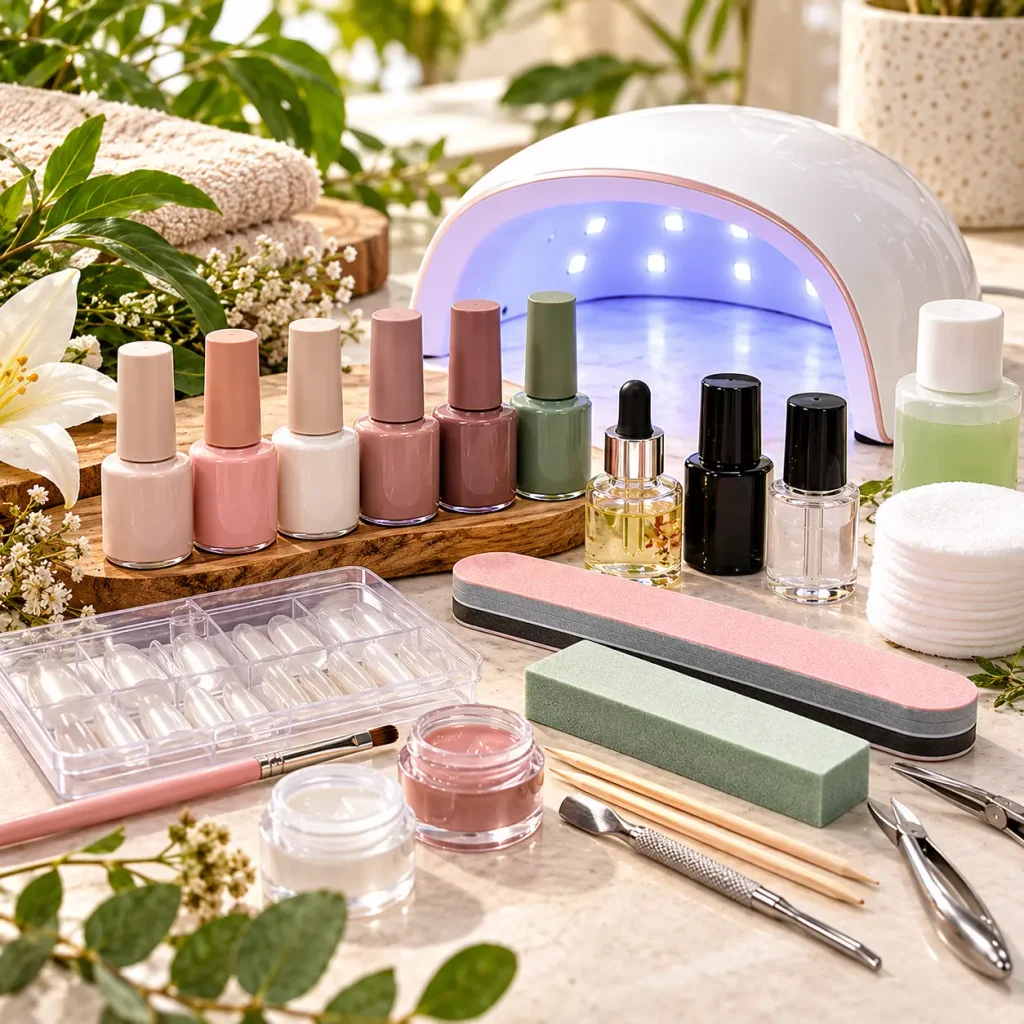
What it is: a kit from a brand that highlights ingredient choices, lower odor, or a specific formulation approach.
Best for: people who are sensitive to strong smells or who prefer to read ingredient lists carefully.
What to check: the actual ingredient list and the brand’s claims. Marketing terms like clean or non-toxic are not standardized, so judge the ingredients and instructions yourself.
Example to browse: Manucurist sells gel starter kits that beauty editors have reviewed. Compare their current ingredient claims with others.
No gel kit is risk-free. Even gentle-sounding formulas can cause reactions in some people, so patch caution and good technique still apply.
7. The Removal and Aftercare Kit
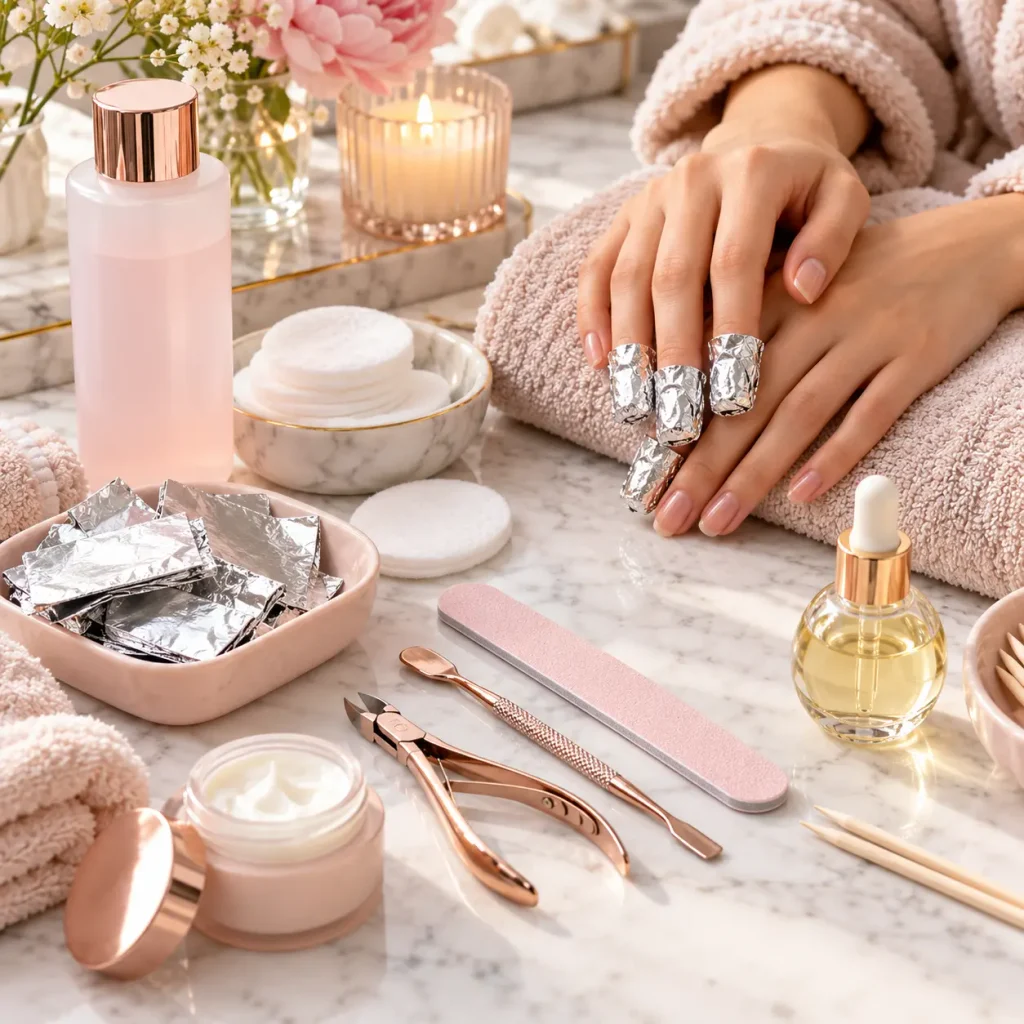
What it is: a separate set for safe removal and recovery, including a file, acetone, cotton or wraps, foil, a cuticle pusher, cuticle oil, and hand cream.
Best for: everyone, because gel removal is where most nail damage happens.
What to check: that you have everything on hand before you begin, and that the acetone and tools are suitable for your nails and skin.
If you already have a kit that lacks removal supplies, this is the most useful add-on. Good aftercare also keeps your nails looking better between manicures.
The Seven Picks Side by Side
| Pick | Best for | Skill level | Lamp usually included | Key thing to check |
|---|---|---|---|---|
| Beginner starter kit | Basic gel manicures | Beginner | Yes | Clear instructions |
| Poly gel kit | Length and sculpting | Intermediate | Often | Forms, tips, slip solution |
| Complete color kit | Variety and nail art | Beginner to intermediate | Yes | Opacity of colors |
| Compact travel kit | Small spaces, travel | Beginner | Yes | Lamp size |
| Builder gel kit | Strengthening | Intermediate | Varies | Layer thickness guidance |
| Ingredient-conscious kit | Sensitive noses, label readers | Beginner | Varies | Ingredient list |
| Removal and aftercare kit | Everyone | Beginner | No | Acetone, wraps, oil |
How to Apply Gel Polish at Home: Step by Step
These steps work for most gel polish kits. Always follow the instructions that come with your gel and lamp.
- Prep your nails. Push back cuticles gently, trim and file your nails, and lightly buff the shine off the nail surface.
- Clean the nail. Wipe each nail with a lint-free wipe and cleanser or alcohol to remove oil and dust.
- Apply the base coat. Use a thin layer and cap the free edge, which means brushing along the tip of the nail. Cure as directed.
- Apply the first color coat. Keep it thin and avoid touching the skin. Cure as directed.
- Apply the second color coat. Thin layers cure better and last longer than thick ones. Cure again.
- Apply the top coat. Cap the free edge again and cure.
- Wipe if needed. Some top coats leave a sticky layer. Wipe it away with cleanser if your product requires it.
- Finish with cuticle oil. This keeps the skin around your nails comfortable.
Tips for a Smooth Finish
- Keep gel off the skin. Uncured gel on skin can cause irritation, so clean up edges before curing.
- Use thin layers. Thick coats can wrinkle or stay soft.
- Cap the free edge each time. This helps prevent chipping at the tip.
- Cure your thumb separately if your lamp does not fit it well.
How to Use a Poly Gel Nail Kit
Poly gel is a little more advanced, so go slowly.
- Prep nails the same way as for gel polish.
- Apply a base or bonding layer if the kit includes one, and cure it.
- Scoop a small amount of poly gel and place it on the nail or form.
- Dip the brush in slip solution and tap it onto the gel to shape it.
- Cure for a short time to hold the shape, then refine and cure fully.
- File and shape the nail once it is cured.
- Apply color or a top coat and cure again.
If you use forms or tips, follow your kit’s instructions for attaching and removing them.
Troubleshooting Common Gel Nail Kit Problems
| Problem | Likely cause | What to try |
|---|---|---|
| Gel wrinkles or bubbles | Layers too thick | Apply thinner coats and cure each layer |
| Gel lifts at the edges | Oil on the nail, skin contact, or poor prep | Prep thoroughly and keep gel off skin |
| Surface stays tacky | Under-curing or incompatible lamp | Check cure times and lamp compatibility |
| Gel peels off in sheets | No base coat or poor prep | Use base coat, buff lightly, and cap the free edge |
| Heat sensation during curing | Layer is thick or the gel cures quickly | Flash-cure for a few seconds, remove your hand, then finish curing |
| Color looks streaky | Thin gel or poor technique | Apply two thin coats and avoid overworking the brush |
| Skin redness or itching | Possible reaction to gel | Stop use and consult a doctor or dermatologist |
How to Remove Gel Safely
Peeling or forcing gel off can damage your natural nails. Take your time.
- File the top coat lightly to break the seal.
- Soak cotton pads in acetone and place them on each nail.
- Wrap each finger in foil or use removal wraps and wait about 10 to 15 minutes, or as your kit directs.
- Gently push off the softened gel with a cuticle stick.
- Re-soak any stubborn areas instead of scraping.
- Buff lightly, wash your hands, and apply cuticle oil and hand cream.
Acetone is drying, so moisturize afterward and give your nails a short break if they feel thin or sore.
Safety and Nail Health
Most people use at-home gel kits without trouble, but a few precautions are worth knowing.
- UV exposure: UV and LED nail lamps emit ultraviolet light. Many skin-health organizations suggest protecting your hands with broad-spectrum sunscreen or UV-protective gloves, especially if you use lamps regularly.
- Skin contact with uncured gel: this is a common cause of irritation and allergic reactions. Keep gel on the nail and clean up any that touches skin before curing.
- Allergic reactions: gel products contain ingredients, such as acrylates, that cause allergic contact dermatitis in some people. If you notice redness, swelling, itching, or blisters, stop using the product and speak with a doctor.
- Signs of infection: pain, swelling, pus, or a lifting nail with discoloration can signal a problem. Do not cover it with gel. See a healthcare professional.
- Rest your nails: if they feel weak or thin, take a break between manicures.
For general nail and skin guidance, the American Academy of Dermatology is a reliable place to start.
Gel Nail Kit vs. Press-On Gel Strips vs. Salon Gel
If you are deciding between options, this quick comparison helps.
| Option | Effort | Lamp needed | Best for |
|---|---|---|---|
| At-home gel nail kit | Moderate | Yes | Customizing color and shape |
| Press-on gel strips | Low | Depends on the product | Quick, no-fuss manicures |
| Salon gel manicure | Low for you | Yes (at the salon) | Professional finish and nail art |
If you want the look without learning technique, our guide to at-home gel nail strips and press-ons covers what to know. If you want to practice shape and polish, a kit gives you more control.
Choosing a Shape and Color
The best color is one you will enjoy wearing. Neutral and sheer shades are easier to apply and forgiving of small mistakes, while dark, bold, and glitter shades show uneven coats more.
Shape matters too. Short, softly rounded, or squoval nails tend to be practical for everyday wear, while longer shapes need extra care. For help choosing, see our nail shapes guide. For simple color ideas, our nude nail designs are a good place to start.
Common Mistakes to Avoid
- Skipping prep. Oils and shine stop gel from gripping.
- Applying thick coats. Thin layers cure better and last longer.
- Using an incompatible lamp or gel. Match your gel to your lamp’s wavelength and instructions.
- Letting gel touch the skin. This raises the chance of lifting and irritation.
- Peeling gel off. Always soak it off.
- Forgetting removal supplies. Plan for acetone, cotton, and foil before you start.
- Never taking a break. Healthy natural nails make better manicures.
Frequently Asked Questions
What is a gel nail kit?
A gel nail kit is a set of products for doing gel manicures at home, usually including a curing lamp, gel polish, base and top coats, and nail prep tools.
What is the best at-home gel nail kit for beginners?
A starter kit with a lamp, base and top coats, a few colors, and clear instructions is usually the easiest start. Look for good reviews and straightforward directions.
Do I need a UV light for a gel nail kit?
Most gel kits need a UV or LED lamp to cure the gel. Some alternatives, such as certain press-on or strip products, do not. Check what your specific product requires.
What is a poly gel nail kit?
It is a kit with a thick, putty-like gel that you shape on the nail, usually with slip solution and forms or tips, and then cure under a lamp. It is popular for adding length and shape.
Is poly gel harder than regular gel polish?
It usually takes more practice, since you have to shape the gel before curing. Beginners can start with gel polish and move to poly gel when they are comfortable.
How long do at-home gel nails last?
Wear time varies with prep, application, nail growth, and how hard you use your hands. Following the instructions closely and prepping well tends to make gel last longer.
Can gel nails damage my natural nails?
They do not have to, but peeling gel off, aggressive filing, and skipping breaks can weaken nails. Gentle removal and moisturizing help protect them.
Is a UV or LED lamp better?
LED lamps usually cure faster, while UV lamps work with a wider range of formulas. What matters most is that your gel and lamp are compatible and that you follow the cure times.
Conclusion
The best gel nail kit is the one that matches your goals, your skill level, and the way you like to wear your nails. Start simple with a beginner kit that includes a lamp, base and top coats, and a few colors, and add poly gel or builder gel when you want more structure.
For your next step, check what is actually in the box, make sure your gel and lamp are compatible, and gather your removal supplies before you start. A little preparation helps your at-home manicure look beautiful and last.