Kleo nails, sold by the brand Kleo Kolor, are at-home gel manicures that come as press-on gel nails and gel nail strips. They promise a salon-style finish without the appointment, but like any at-home manicure, the result depends heavily on how you prepare, apply, wear, and remove them.
This guide explains what Kleo nails are, how they compare to other manicure options, and 9 practical tips that help your nails look better and last longer. It also covers common problems, safety basics, and what to do for your natural nails between sets.
What Are Kleo Nails?
Kleo nails are at-home gel nail products from Kleo Kolor, a brand that sells press-on gel nails and gel nail strips in a range of colors and designs. The brand describes its range as LED gel strips, press-on gel nails, and gel strips, along with seasonal collections and pedicure sets.
If you searched “Kleo nails,” you most likely mean this brand. The name is also used by other businesses, so check that you are on the right product page before you buy or follow instructions.
The Main Kleo Kolor Formats
Product listings and brand descriptions show a few different formats. They do not all work the same way, so it is worth knowing which one you have.
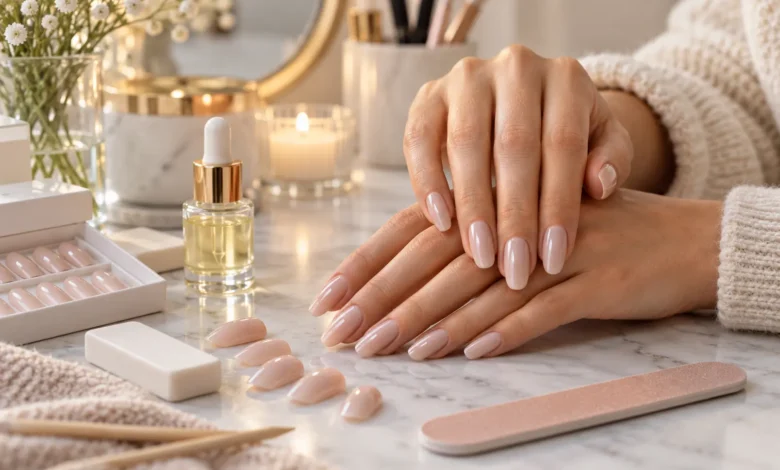
- Press-on gel nails: pre-shaped nails, usually sold in a box with a set of sizes, that you stick onto your natural nails.
- LED gel strips: flexible gel strips that are applied to the nail and then hardened under an LED lamp.
- Gel strips (no lamp listings): some strip sets are advertised as not needing a lamp. Check the packaging, since instructions differ by set.
- Pedicure sets: smaller sets sized for toenails.
Because formats vary, the safest rule is to follow the instructions printed on your specific box. The tips below are general best practices that apply across these kinds of products.
Press-On vs. Gel Strips vs. Salon Gel
| Feature | Press-on nails | Gel nail strips | Salon gel manicure |
|---|---|---|---|
| Where it is done | At home | At home | At a salon |
| Application | Stick on with adhesive | Apply, trim, and often cure | Painted on in layers and cured |
| Lamp needed | Usually no | Often yes, depending on the set | Yes |
| Time | Short | Short to moderate | Longest, includes travel |
| Removal | Soak or lift gently | Gentle lifting or soak, per instructions | Soak-off or file, done by a technician |
| Best for | Quick changes, events | A gel-like look at home | A custom, professional finish |
Press-on nails can also work as a protective layer for some people while natural nails grow, as long as they are applied and removed gently.
What You Need Before You Start
Gathering your supplies first makes the whole process smoother and reduces mistakes.
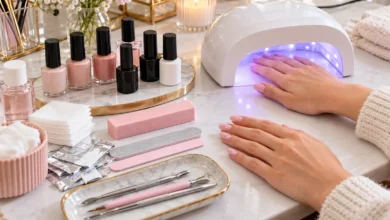
- Your Kleo Kolor set and the instruction sheet
- A nail file and buffer
- A cuticle pusher or orange stick
- Alcohol wipes or a nail prep pad
- Cuticle oil (for afterward)
- Small nail scissors or clippers (if your set needs trimming)
- A compatible lamp, only if your set requires one
9 Essential Tips for Beautiful Kleo Nails
1. Start With Clean, Dry, Oil-Free Nails
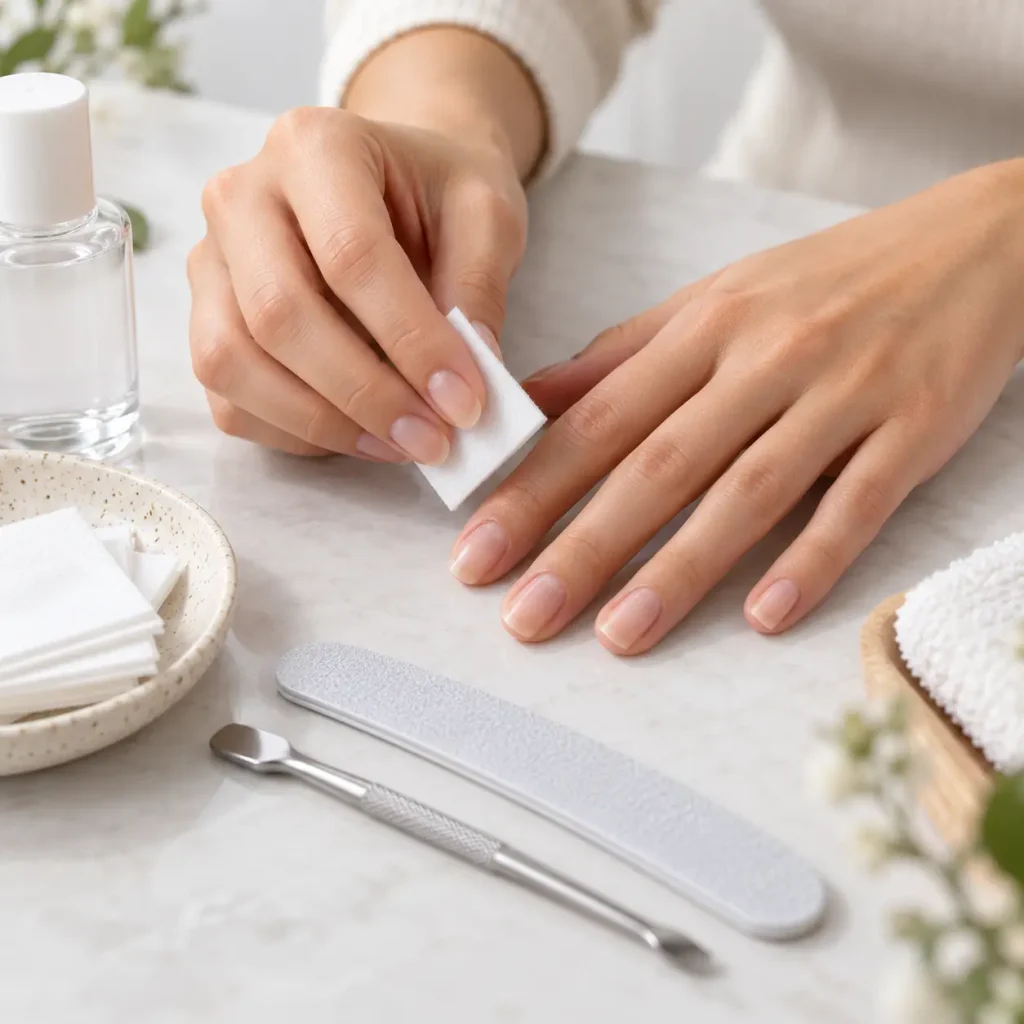
Prep is the single biggest factor in how long a set lasts. Oils, lotion, and leftover polish stop adhesive from gripping.
Wash and dry your hands, remove any old polish, and wipe each nail with an alcohol wipe or prep pad. Lightly buff the shine off the surface of your natural nails so the product has something to hold on to. Avoid hand cream right before application.
2. Push Back Cuticles Gently (Do Not Cut Them)
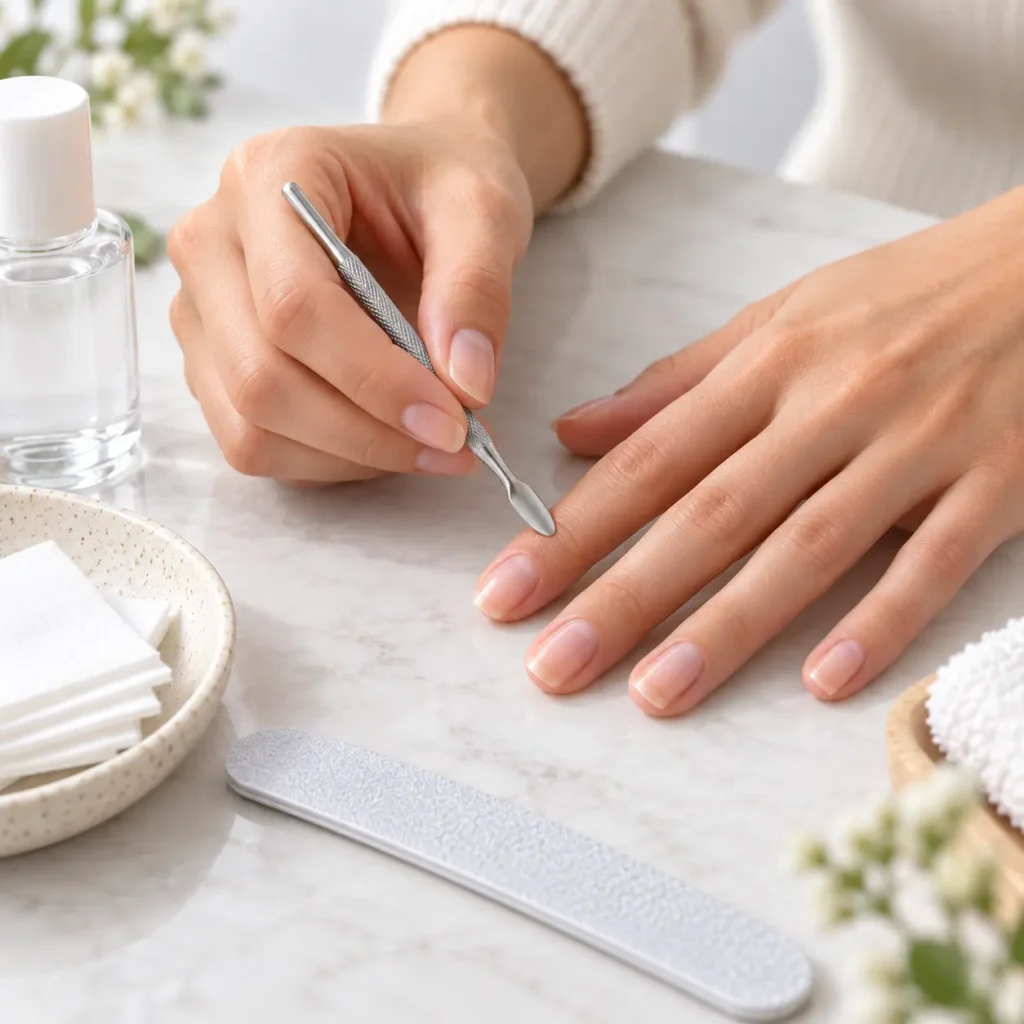
A clean cuticle line makes the nail look neat and helps the product sit flat at the base. Use a cuticle pusher to ease back the skin, and wipe away any dead skin or residue.
Skip cutting your cuticles. They act as a seal that helps protect the nail area from bacteria, so gentle pushing is the safer option.
3. Size Every Nail Before You Peel Anything
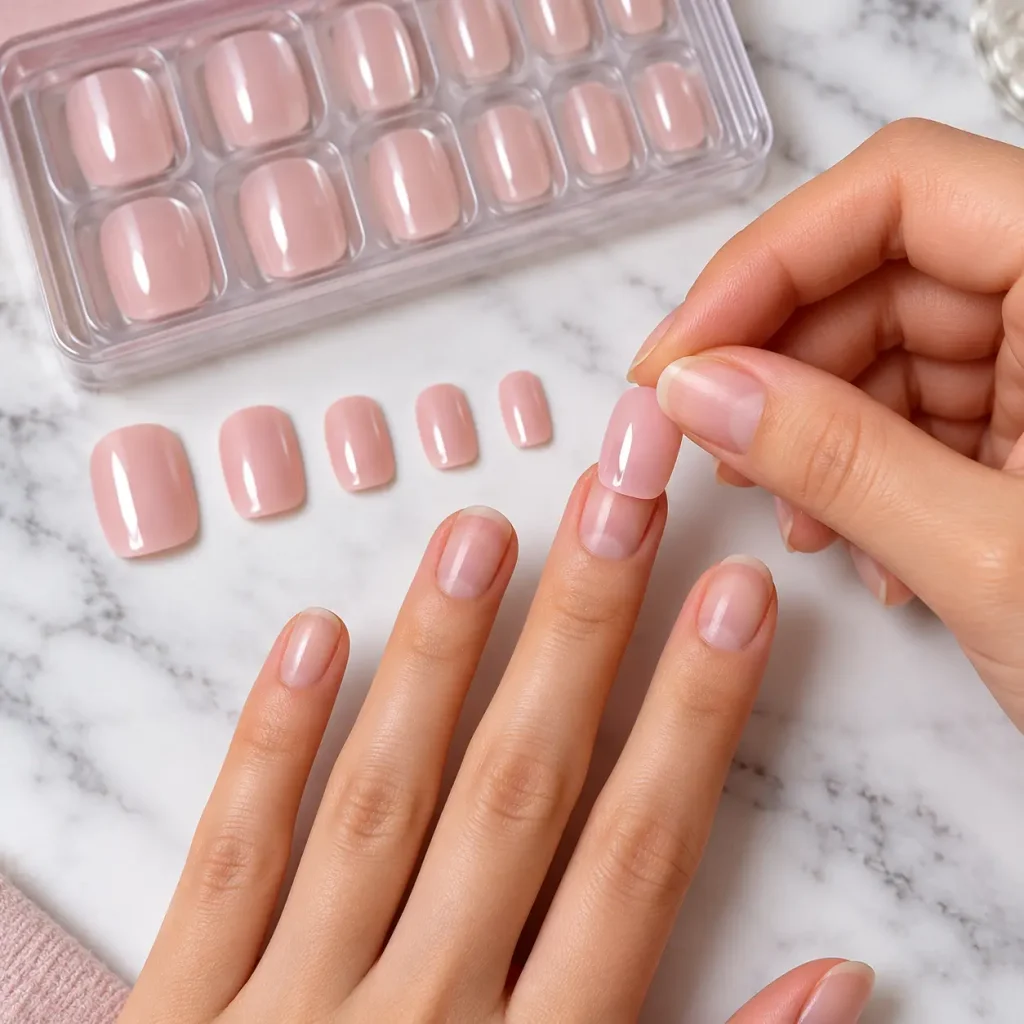
Most sets include multiple sizes. Lay them out and test each one against its nail before you remove any backing.
A well-fitted nail covers the nail surface from side to side without touching the skin around it. If you fall between sizes, many people choose the slightly smaller one, then file for a perfect edge. A nail that is too wide is more likely to lift at the sides.
It helps to sort the sizes in the order you will apply them, thumb to pinky, so you are not hunting for the right one mid-application.
4. Apply From the Cuticle Outward and Press Out Air Bubbles
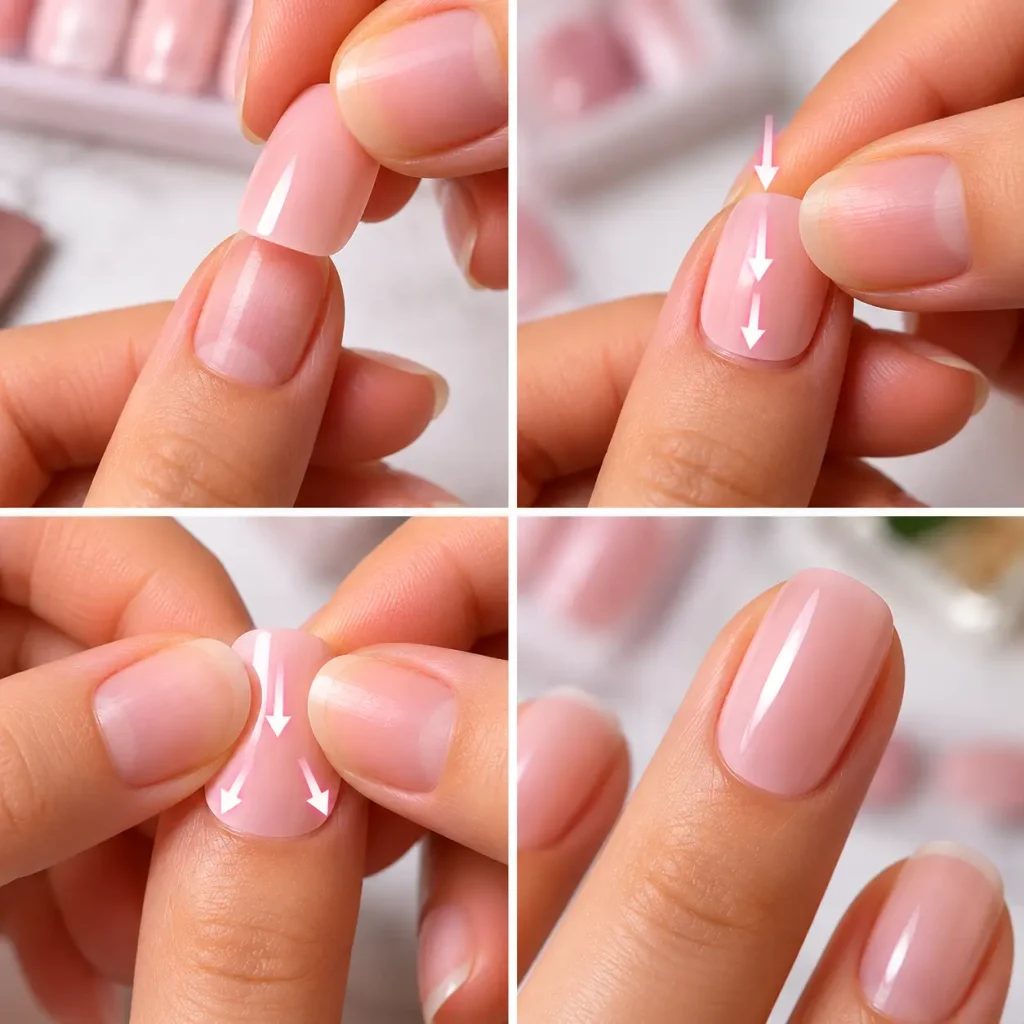
Place the nail or strip close to the cuticle, without touching the skin, then press down and smooth toward the tip. Working from the base outward pushes air toward the edge instead of trapping it.
Hold gentle pressure for the time your instructions recommend. If your set uses adhesive tabs or glue, apply thin, even amounts. Too much adhesive can ooze out, look messy, and cause lifting later.
5. Cure Correctly if Your Set Needs It
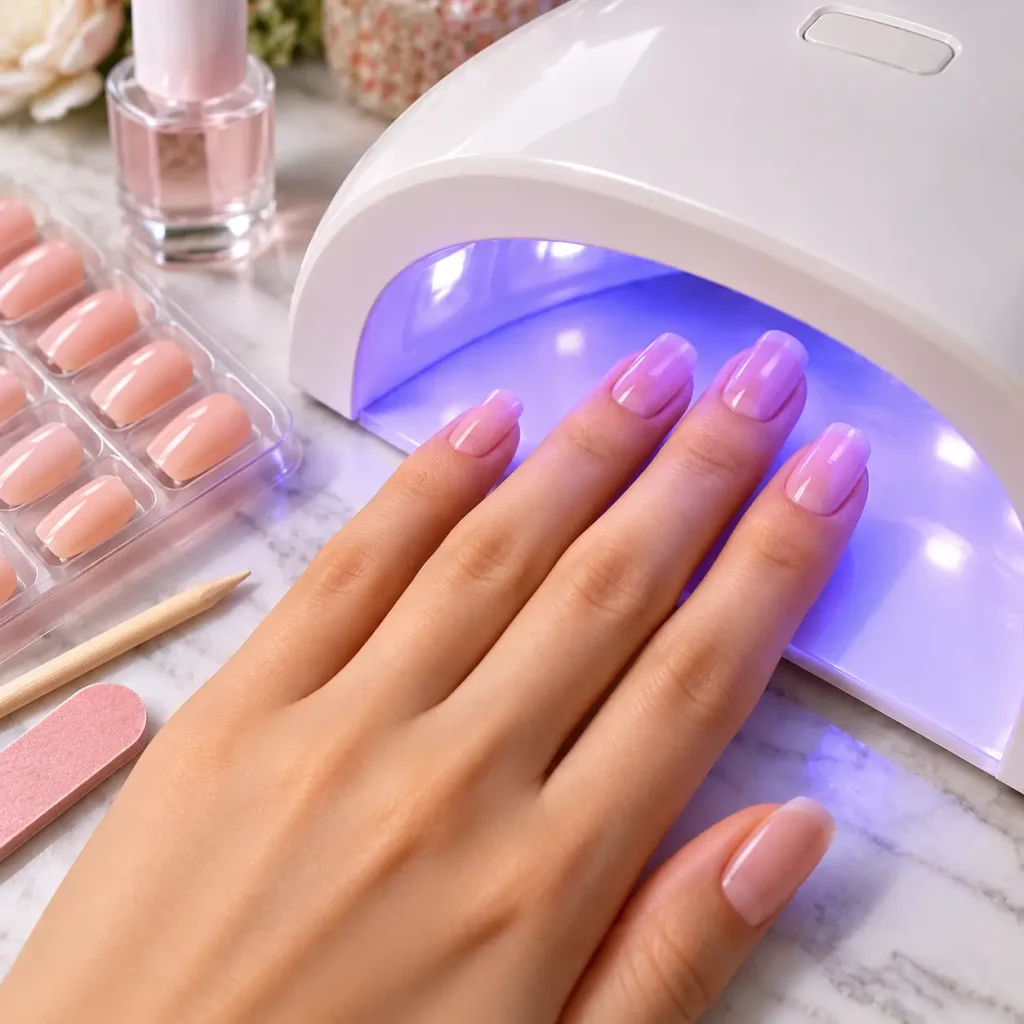
If your Kleo Kolor set is a gel strip that requires a lamp, use the curing time listed in the instructions and make sure your lamp is compatible. Under-curing can leave a tacky or soft finish, and the nails may not last.
UV and LED nail lamps do emit ultraviolet light. Many skin-health organizations suggest protecting your hands with broad-spectrum sunscreen or UV-protective gloves when you use these lamps regularly. If your set does not require a lamp, skip this step and follow the instructions as written.
6. File and Shape Carefully
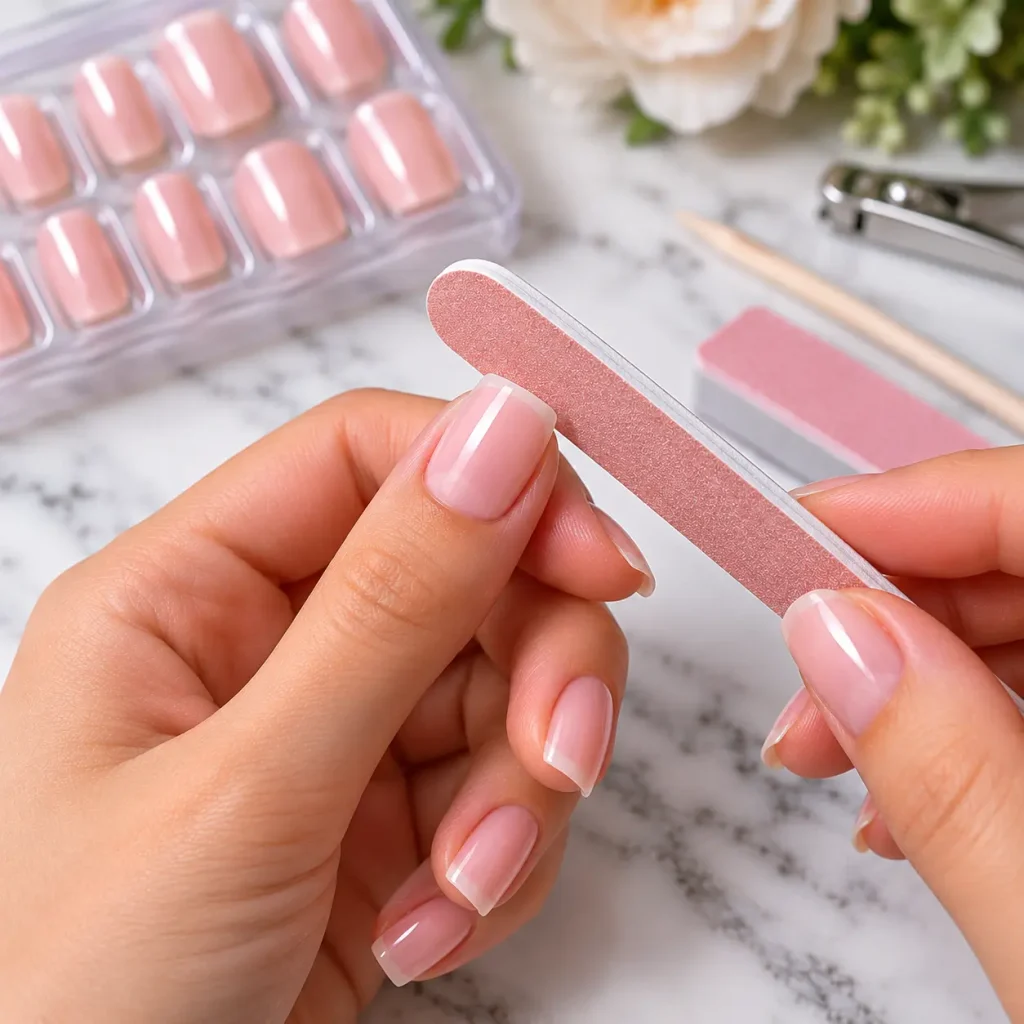
After application, trim any excess and shape the free edge. File in one direction rather than sawing back and forth, which can cause chipping or peeling at the edge.
Seal the very tip by filing it smooth and avoid filing into your natural nail. Shape matters for looks and wear. Shorter, rounded, or softly squared shapes tend to survive daily life better than very long ones. For help choosing, see our guide to nail shapes and which ones suit your hands.
7. Protect Your Set During the First Day and Beyond
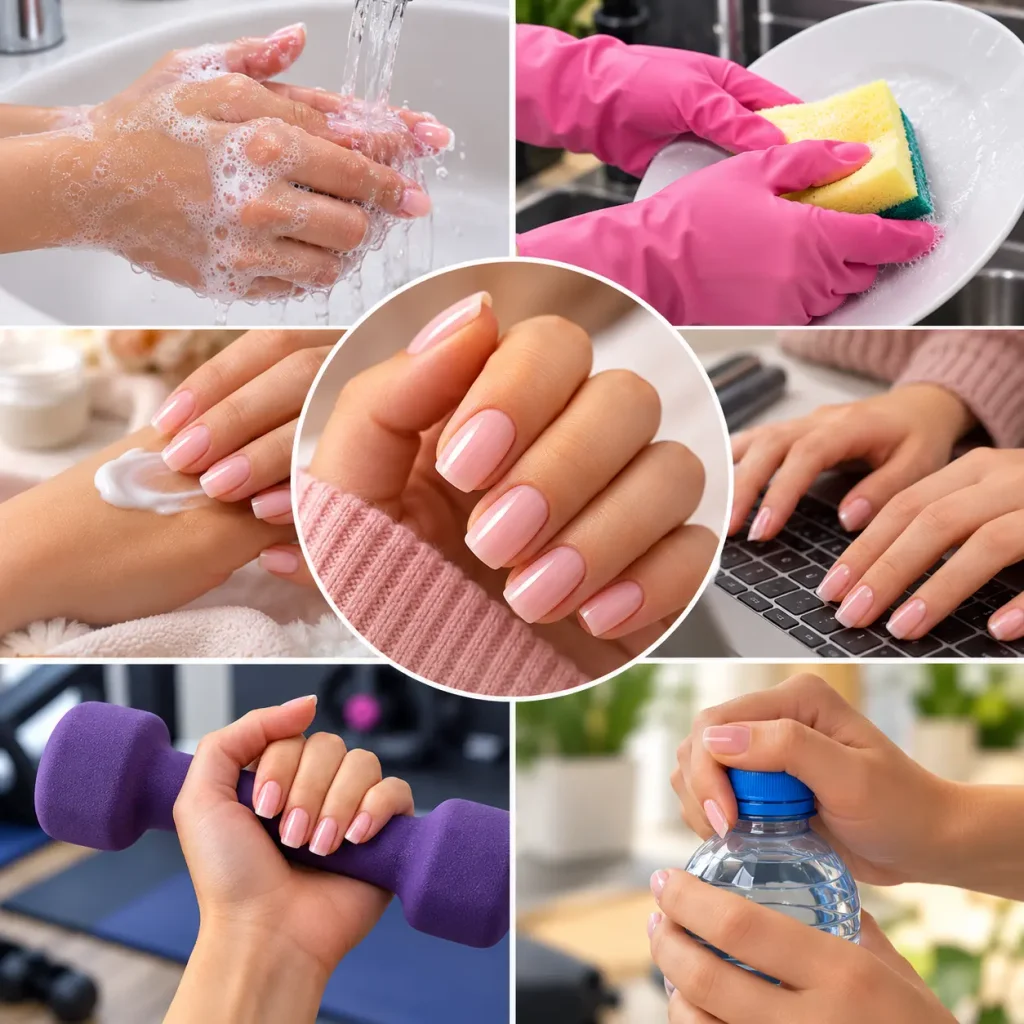
The hours after application matter. Check your instructions for how long to avoid water, steam, and heavy hand use. Many at-home sets need a little time to settle.
Over the following days:
- Wear gloves for dishes, cleaning, and gardening.
- Use the pads of your fingers, not your nails, to open cans, peel stickers, or pop tabs.
- Keep your hands away from very hot water for long stretches.
- Apply cuticle oil once a day, applying it around the nail rather than flooding the edges.
These habits help your nails last longer and keep the skin around them comfortable.
8. Remove Them Safely, Never by Peeling
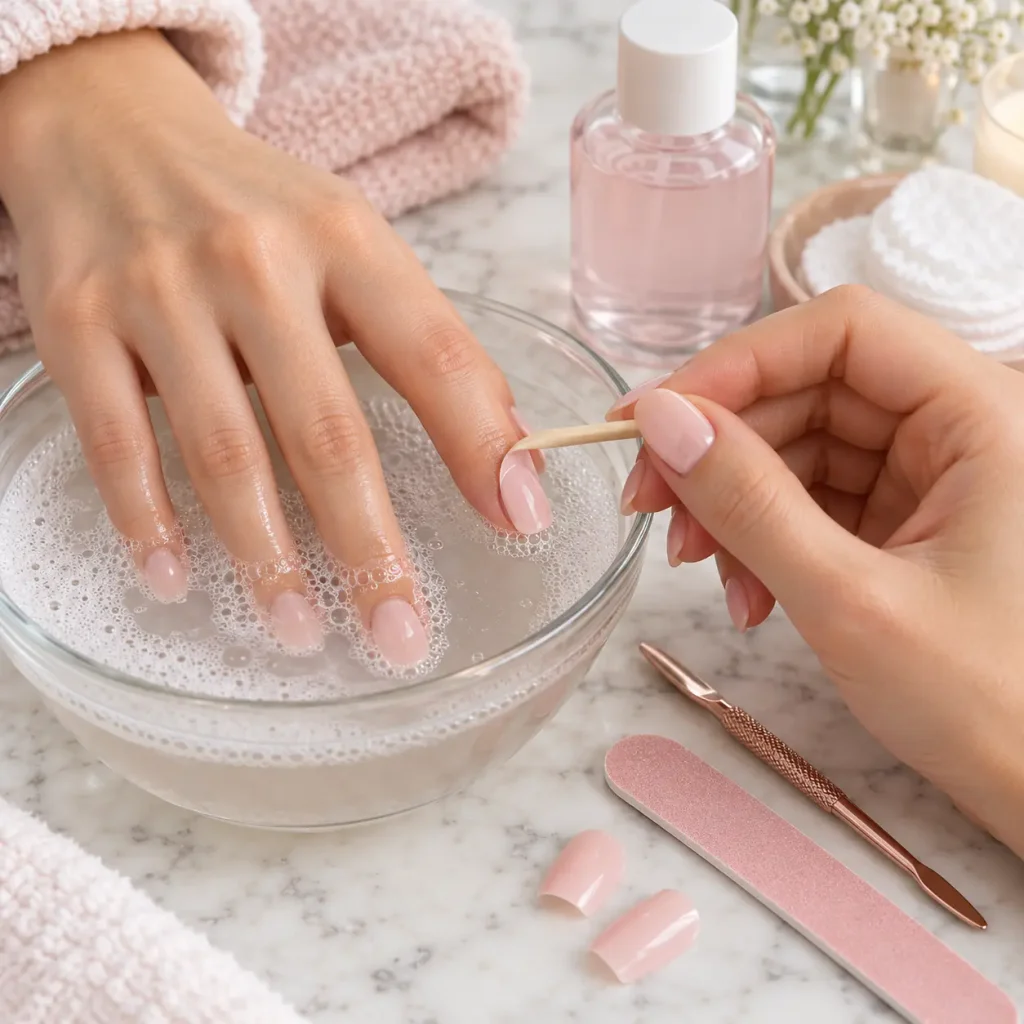
This is where many people damage their natural nails. Pulling or peeling a press-on or strip can take layers of the nail plate with it, leaving the surface thin and sore.
Follow the removal steps for your exact product. In general, the safe approach is to soften the adhesive, then gently lift from the edge rather than yanking. If a nail does not release easily, stop and soften it again instead of forcing it. Patience protects your natural nails far more than speed does.
9. Care for Your Natural Nails Between Sets
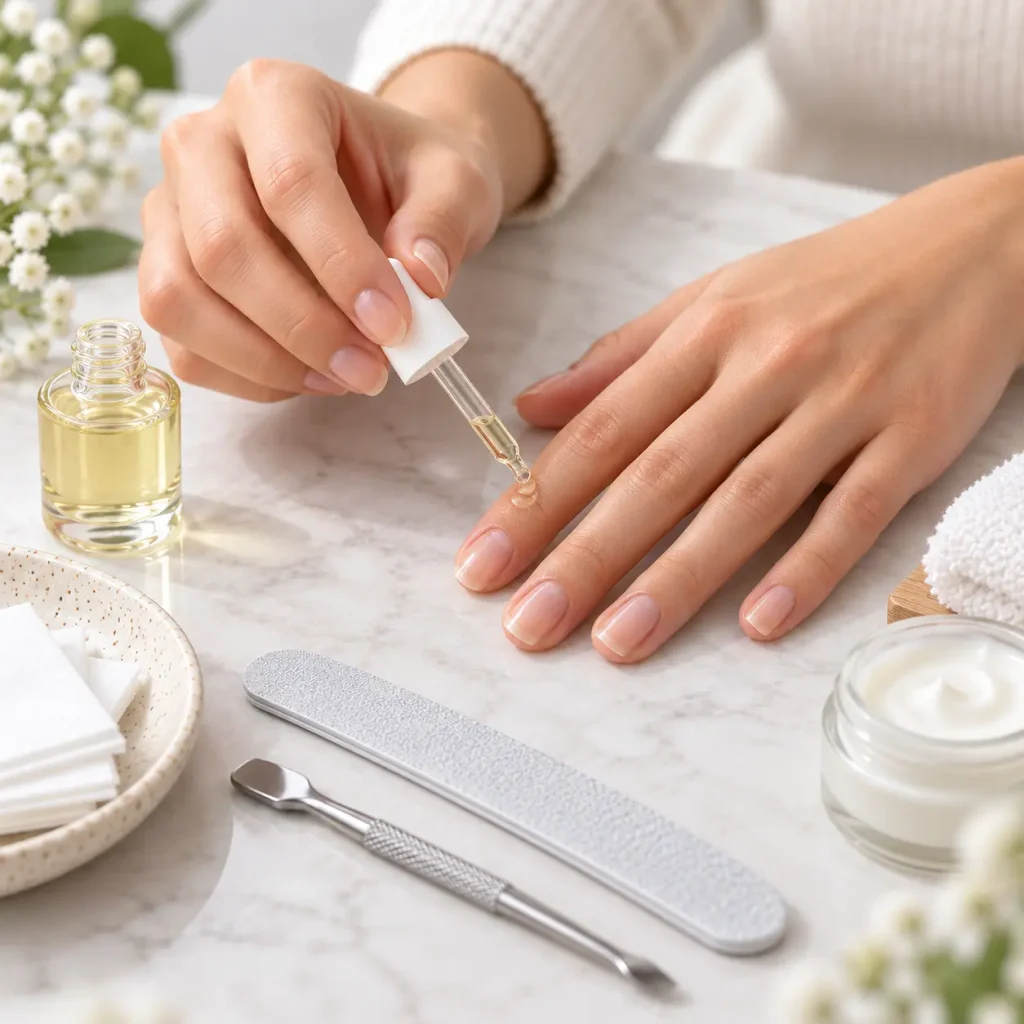
Beautiful nails are not only about the product on top. Healthy natural nails make every manicure look better and hold better.
- Moisturize your hands and cuticles daily.
- Drink enough water and eat a balanced diet, since nail growth reflects overall health.
- Give your nails a break when they feel thin, sore, or bendy.
- Keep nails trimmed and filed to a manageable length.
If your nails feel weak after wearing sets, take a few days off before applying a new one. If you want a polished look during that time, a clear coat or a neutral shade can be a lighter option. Our nude nail designs guide has simple ideas for natural-looking sets.
How to Choose Colors and Styles
Kleo Kolor offers seasonal collections, so the style you pick can match your mood, outfit, or event.
- Everyday wear: soft neutrals, sheer pinks, or classic French tips go with almost anything.
- Work-friendly: muted tones and short, simple designs are easy to maintain and tend to look polished.
- Special occasions: glitter, metallics, and bold colors make a statement for parties or holidays.
- Seasonal looks: deeper shades in fall and winter, brighter or pastel colors in spring and summer.
Nail color also changes how hands look. Warm and neutral shades often look natural on many skin tones, while bright or deep colors give more contrast. If you are unsure, try a shade in good natural light before committing to a full set.
Also Read: 20 Nail Design Ideas You’ll Want to Try Instantly
Troubleshooting Common Problems
| Problem | Likely cause | What to try |
|---|---|---|
| Nails lift at the edges | Oils on the nail, wrong size, or too much adhesive | Prep more thoroughly, use a better-fitting size, apply thinner adhesive |
| Air bubbles under the nail | Not pressing from cuticle to tip | Smooth firmly outward during application |
| Nails pop off in a day or two | Poor prep, exposure to water too soon, or lotion on nails | Check instructions for wait time and avoid lotion before applying |
| Tacky or soft surface | Under-curing or incompatible lamp | Follow cure time and use a lamp suitable for your set |
| Natural nails feel thin after removal | Peeling or forced removal | Remove gently and give nails a rest |
| Skin redness or itching | Possible sensitivity to a product ingredient | Stop use and speak with a doctor or dermatologist |
Safety and Nail Health
Most people use at-home gel and press-on nails without problems, but a few cautions are worth knowing.
- Allergic reactions: some people react to ingredients in gel and adhesive products, including acrylates. If you notice redness, swelling, itching, or blisters around the nails, stop using the product and talk to a healthcare professional.
- Signs of infection: pain, swelling, pus, or a nail that lifts and turns green or dark can signal an infection or other problem. Do not cover it with artificial nails. See a doctor.
- Damaged or very thin nails: let them recover before wearing another set.
- UV exposure: if your lamp emits UV light, limit exposure and protect your hands, as noted in tip 5.
For general nail-health guidance, the American Academy of Dermatology is a reliable place to start.
Are Kleo Nails Worth It?
That depends on what you value. At-home sets can save time and money compared with regular salon visits, and they let you change your look quickly. They also give you control over timing, since you can apply them whenever you like.
The tradeoff is a learning curve. Your first set may not look as smooth as a professional manicure, and results depend on prep and application. Prices and availability change, so compare the cost per wear rather than the sticker price alone.
Independent review coverage of Kleo Kolor appears limited compared with larger nail brands. Read verified customer reviews at the retailer you buy from, look at recent photos from real customers, and check the return policy before purchasing.
Frequently Asked Questions
What are Kleo nails?
Kleo nails are at-home gel manicure products from the brand Kleo Kolor. They include press-on gel nails and gel nail strips that you apply yourself.
Do Kleo gel strips need a lamp?
It depends on the set. Some products are described as LED gel strips that need a lamp, while some listings advertise no lamp. Check the packaging for your specific set.
How long do press-on gel nails last?
Wear time varies with prep, application, nail length, and how hard you use your hands. Follow the product’s instructions, and avoid overly long nails and heavy water exposure for longer wear.
Can I reuse press-on nails?
Sometimes, if you remove them gently and the adhesive is still usable. Gel strips that are cured to your nails are generally not reusable. Check your set’s instructions.
Will press-on or gel strip nails damage my natural nails?
They do not have to. Damage usually comes from peeling them off, filing too aggressively, or wearing them continuously on weak nails. Gentle application and removal helps protect your nails.
How do I remove Kleo nails without hurting my nails?
Follow the removal steps for your exact product. In general, soften the adhesive and lift gently from the edge. Never rip or peel the nail off.
Can I wear them on toes?
Kleo Kolor lists pedicure sets sized for toenails. Use those rather than trimming fingernail sets to fit.
Are at-home nails safe for sensitive skin?
Many people wear them without issues, but some may react to adhesives or gel ingredients. Patch caution is wise, and if you notice irritation, stop using the product and consult a healthcare professional.
Conclusion
Beautiful Kleo nails come down to preparation and patience: clean nails, the right sizes, careful application, correct curing if your set needs it, and gentle removal. Care for your natural nails between sets, and your manicures will look better and last longer.
For your next step, read the instruction sheet that came with your set, gather your supplies, and do a full prep before you start. If you are unsure about a product, check recent customer reviews before buying.